

How To Make A Wavy Flag In Photoshop

In this tutorial nosotros'll be creating the event of a rippling flag using custom artwork and one of Photoshop'south oldest distortion filters, Readapt. The filter uses a monochrome paradigm map to distort the pixels of the target layer based on the tones of the map. The brighter or darker the tone, the more the pixels of the image are pushed horizontally or vertically. This is great for creating the appearance of an object or text post-obit the contours of a texture.
Our example image uses a photograph of a hanging bedsheet every bit its base, which creates similar folds and wrinkles to that of a flag blowing in the air current. Y'all could also apply the same technique to create realistic custom t-shirt designs for an e-commerce website and much more as well!

Let's go started!
1. We'll begin by opening the base of operations paradigm file, a photo of a hanging bedsheet. This works really well, as information technology has some really nice folds and wrinkles; nosotros need to change its orientation from portrait to landscape, though. Go to Image > Rotation > Rotate 90º Counter Clockwise. This will give us the impression of the flag bravado to the right.

Open up the base paradigm file
2. We'll only be using the tones and texture of the sail for our effect, so nosotros'll catechumen the layer to monochrome. To do this, select Image > Adjustments > Desaturate, or apply the keyboard shortcut Cmd+Shift+U (Mac) / Ctrl+Shift+U (PC).
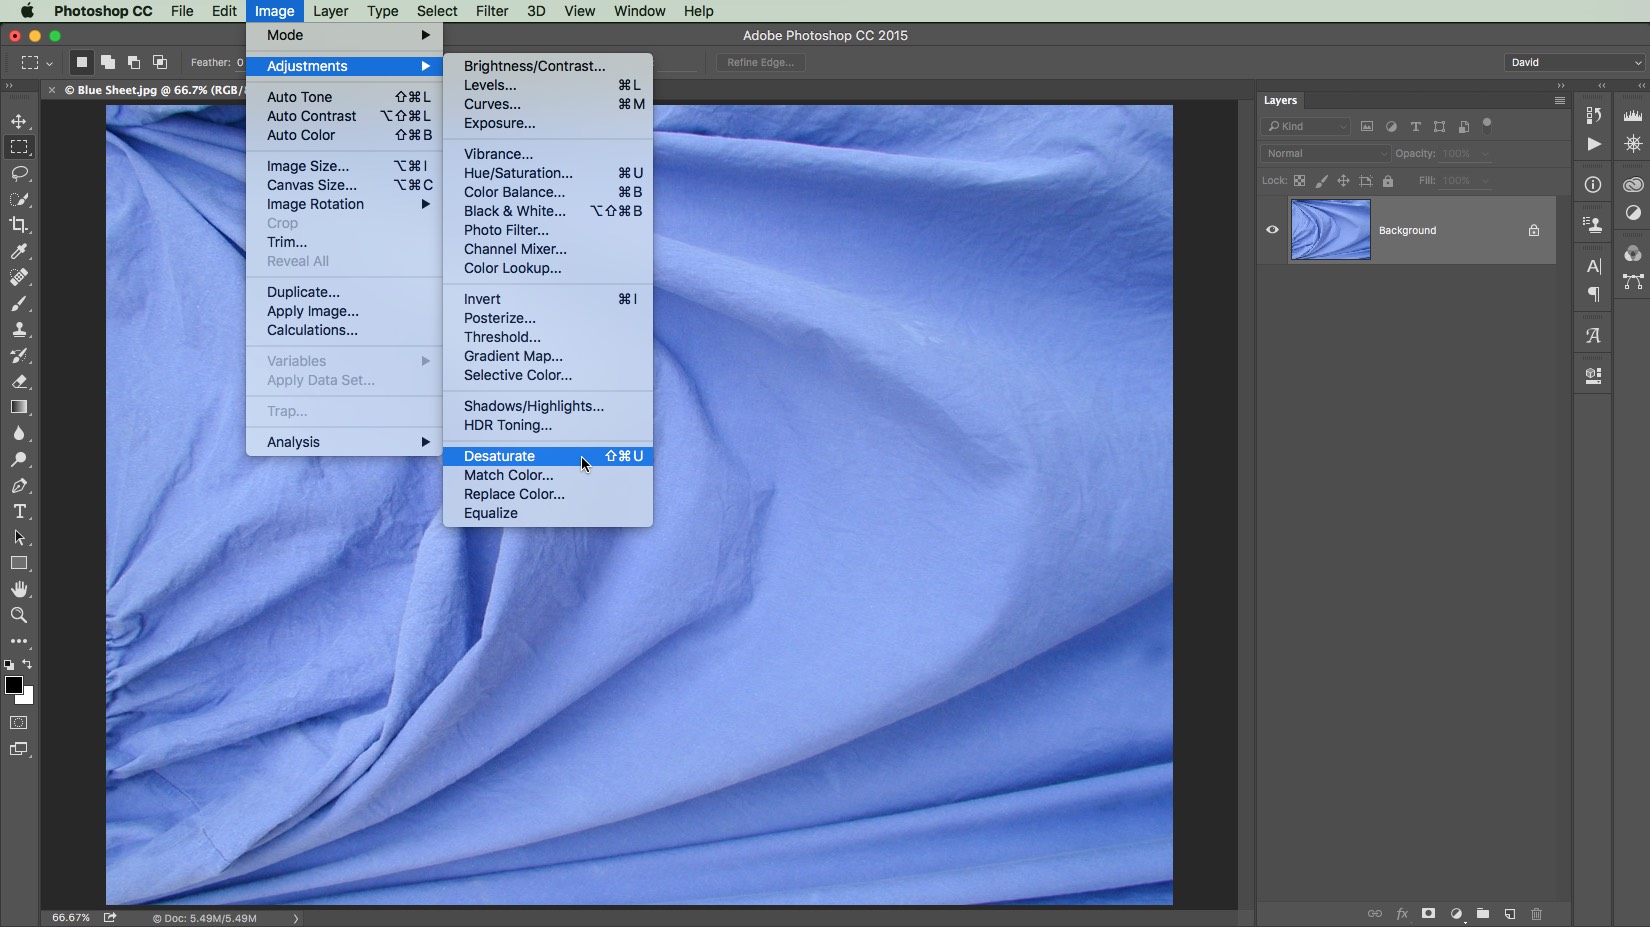
Desaturate the image
3. With the flag background in the correct orientation, nosotros can add our artwork. The best way to practice this is with the Place control, equally it automatically converts the layer to a Smart Object. Go to File > Identify > Place Embedded. In the example, we've fabricated the artwork certificate the same dimensions every bit the base of operations prototype, and so it fits perfectly. PressingEnter or clicking the tick places the image in the certificate as a new layer.
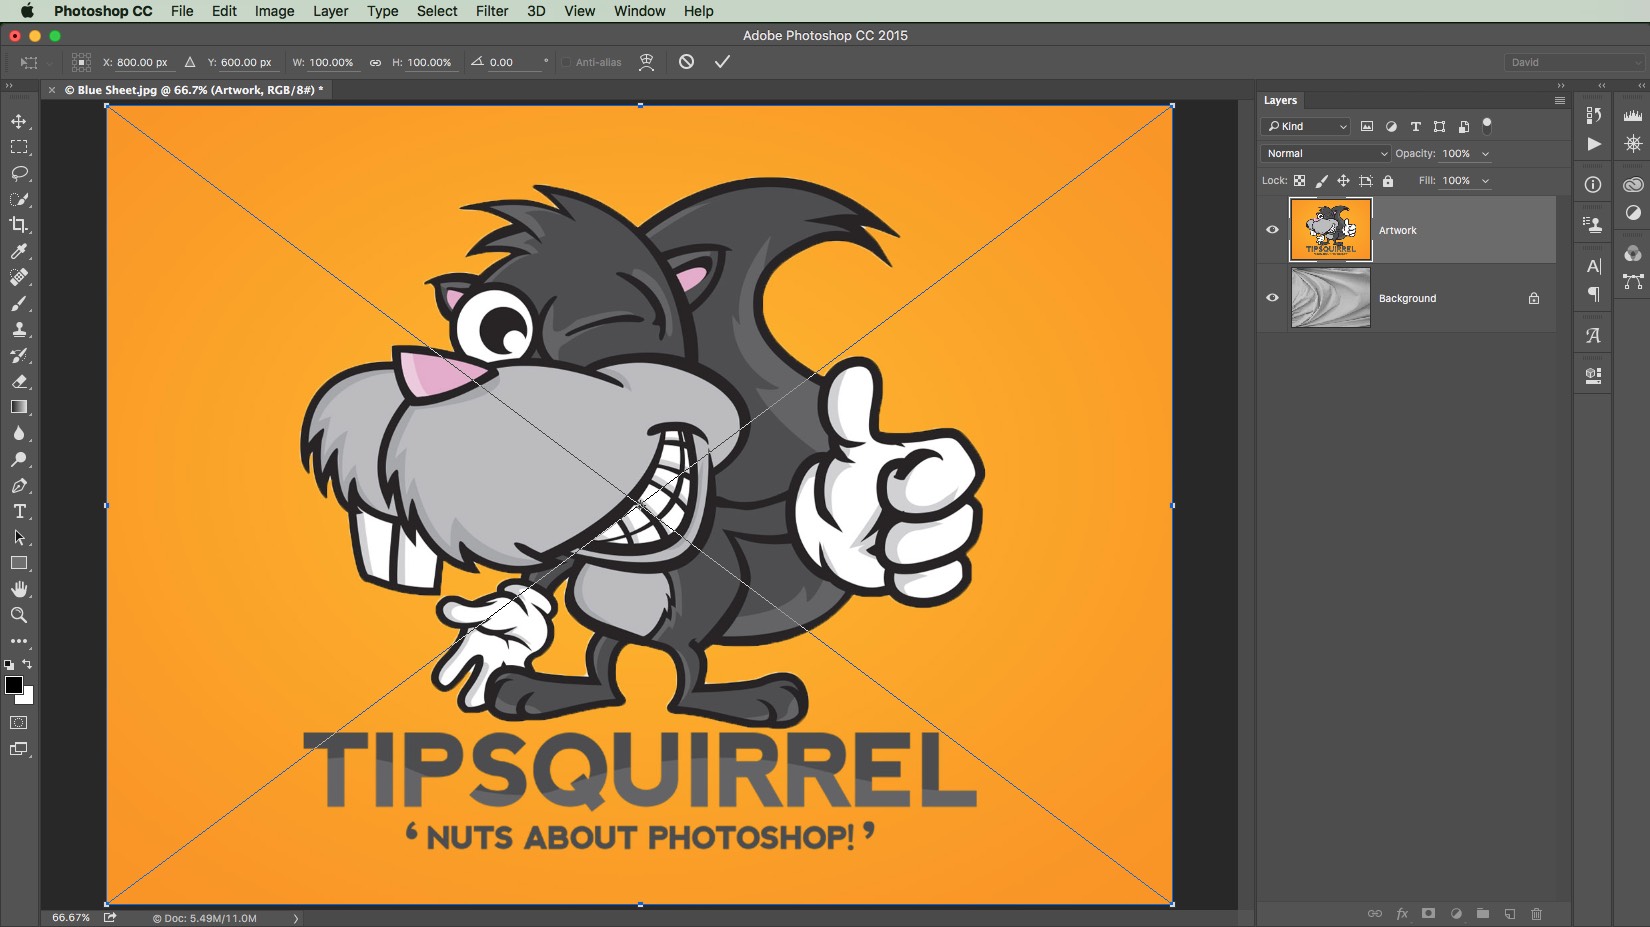
Place the artwork
4. To get an idea of how our flag will announced, we tin can change the artwork layer's Alloy Mode to Multiply. This is already looking good as the texture and ripples in the canvass are showing through. It even so looks a little flat, though.
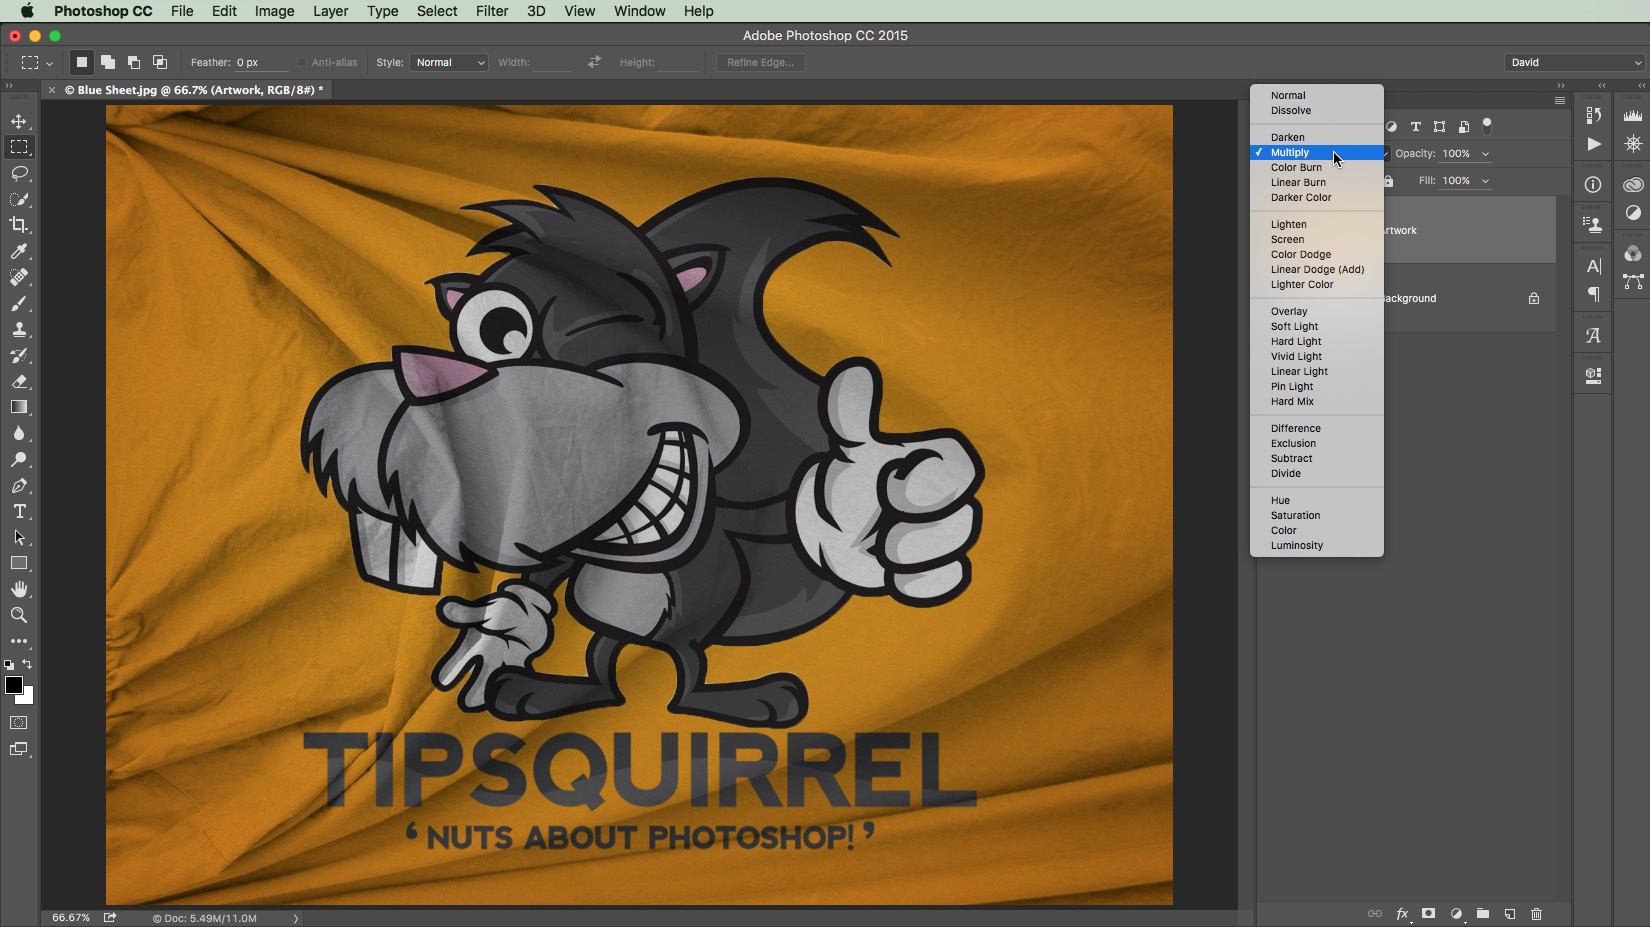
Change the Layer Blend Style
five. We can make the overlaid artwork look more than like information technology's role of the flag using the Displace filter. We demand to practise some preparation work beforehand, however. Click the sheet layer's thumbnail in the Layers Panel. Now select Layer > Duplicate Layer. Select New in the Destination dropdown menu. We also accept the option to name the new document. We called information technology Readapt Map here. Click OK. This opens the layer in a new tab.

Duplicate the base layer to a new document
6. The Displace filter uses the tones of an prototype to create the distortion. We'll heighten the tones of the layer using Levels. Get to Image > Adjustments > Levels, or employ the keyboard shortcut Cmd+L (Mac) / Ctrl+L (PC). Elevate the Shadows slider over to the right so it meets the left edge of the histogram slope. At present do the same with the Highlights, dragging to the left to meet the right side of the histogram.

Enhance the image tones
seven. We need to remove some of the detail from the image as information technology would cause the results to be too jagged. Become to Filter > Blur > Gaussian Blur. Adjust the blur Radius enough to soften the prototype but keep sufficient item for the filter to piece of work with. A Radius of around eight pixels works well with the instance files. Click OK to apply the blur.

Soften the epitome
8. The Readapt filter only works with PSD files, so we need to salvage our displacement map image. Go to File > Save As. If you named the document when you duplicated the layer, it will announced as the default name. Otherwise, give the file a meaningful proper noun. Choose a suitable location to relieve the file. Make certain the file format is Photoshop. Click Relieve. Nosotros're finished with the deportation map tab and then we can close information technology or switch back to our flag document.

Salve the deportation map image
9. Now to apply the effect to our artwork. Become to Filter > Distort > Displace. A minor dialog opens (remember, it's a very erstwhile filter!). The first settings control the amount of distortion. In this instance we've set both Scales to 15. This means the image volition exist distorted upwardly to 15 pixels both horizontally and vertically, depending on the effulgence of the tones in the displacement map. We can leave the residuum of the settings at their default. Click OK. The filter asks us for the displacement map epitome. Locate the image we just fabricated. Click Open.

The Readapt filter dialog
ten. Here's the result. The artwork has been distorted and now appears to follow the contours of the folds in the sheet. If you desire to see the difference, click the Smart Filter'south eyeball icon to hibernate the filter effect.

The artwork with Readapt practical
11. Nosotros can make some final tweaks to enhance the effect. Click the base of operations layer's thumbnail to make it active. Open the Levels dialog as nosotros did earlier. Tighten up the Shadows and Highlights. We'll brighten upwardly the flag by dragging the Mid-tones slider to the left a little. We've also practical a small amount of Gaussian Blur (around 1px) to the artwork layer to soften the outlines a impact.

Enhance the completed upshot
Once the flag'due south complete, nosotros can relieve it and use information technology in a new image. All we demand to exercise is use an image warp to give it a sense of movement.
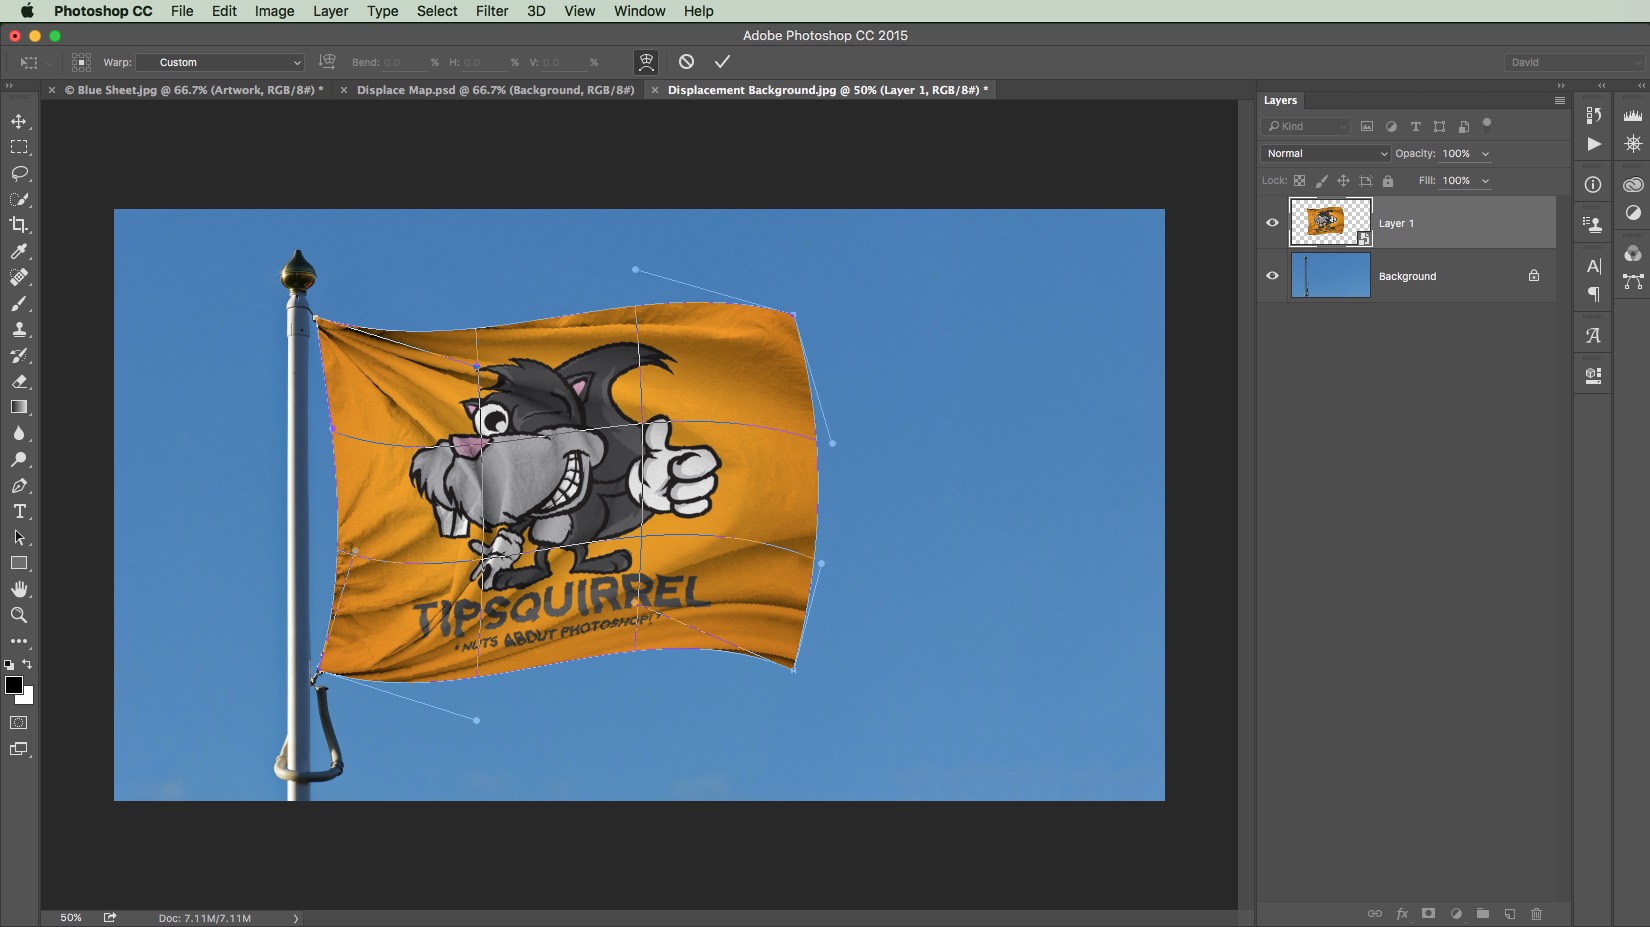
Warp the shape of the flag
And that'due south our rippling flag consequence complete. We can get much further, of course: the flag in the intro epitome has had seams added around the edge and wind fraying at the end to give information technology a more realistic effect.
We hope you've enjoyed this tutorial. Please aid spread the word about TipSquirrel by sharing this and the other great tutorials on the site with your friends and colleagues!
Until side by side time, all the best!
David
Source: https://www.tipsquirrel.com/create-rippling-flag-using-displace-filter-adobe-photoshop/
Posted by: schultzhenceld68.blogspot.com
0 Response to "How To Make A Wavy Flag In Photoshop"
Post a Comment